Roof repair can seem daunting, but homeowners can handle minor leaks and damage with the correct information and tools. This blog will guide you through identifying problems, preparing for repairs, and executing simple fixes to keep your roof in top condition.
Identifying Roof Leaks and Minor Damages
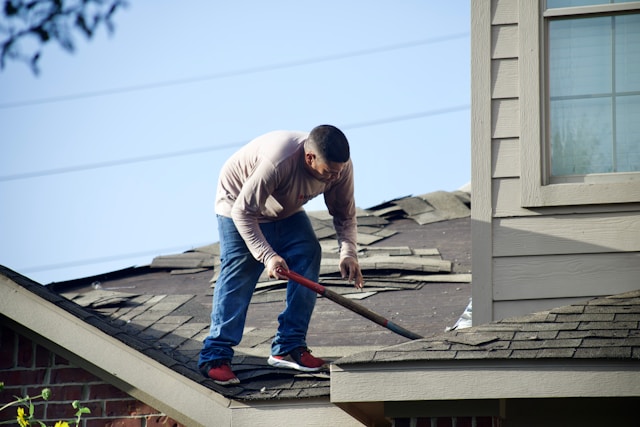
The first step in any roof repair is accurately identifying where and what the problem is. Start by inspecting your roof for any signs of damage, such as missing shingles, cracked flashing, or excessive granule loss. Common signs of leaks include water stains on your ceiling or walls and dampness in the attic. It’s best to perform this inspection during the day with good lighting to ensure you don’t miss anything.
Preparing for Roof Repair
Before you begin any repair work, having the right tools and materials is crucial. Safety is paramount when working on a roof. Wear non-slip shoes, use a sturdy ladder, and consider using a harness for added security. Always have someone nearby in case of an emergency. For most minor repairs, you will need:
- Ladder
- Hammer
- Nails
- Utility knife
- Caulking gun and caulk
- Replacement shingles
- Roofing tar
- Putty knife
Fixing Shingle Damage
Shingle damage is a common issue and can be a source of leaks. To replace damaged shingles:
- Remove the damaged shingle: Carefully lift the edges of the surrounding shingles and remove the nails with a hammer or pry bar. Slide the damaged shingle out.
- Place the new shingle: Slide the new shingle into place. Make sure it aligns with the others on the row.
- Secure the shingle: Nail the new shingle into place and then cover the nail heads with roofing tar to ensure a watertight seal.
Sealing Leaks
Leaks often occur around roof fixtures like chimneys or in valleys where two roof slopes meet. To seal leaks:
- Clean the area: Remove any debris and clean the surface around the leak.
- Apply the sealant: Use a caulking gun to apply roofing sealant around the fixture or along the valley.
- Spread the sealant: Use a putty knife to spread the sealant evenly, ensuring it covers the leak completely.
Handling Flashing Repairs
Flashing is metal used around structures like chimneys or vent pipes to prevent water from seeping into the roof. If the flashing is cracked or loose:
- Remove old flashing: Carefully remove any nails or adhesive holding the flashing in place.
- Install new flashing: Cut a new piece of flashing to fit and secure it with roofing nails.
- Seal the edges: Use roofing tar to seal the flashing edges, ensuring no gaps.
Maintaining Your Roof
Regular maintenance can prevent many common roofing problems. After every major storm, inspect your roof for damage. Keep gutters and downspouts clean to prevent water buildup. Trimming overhanging tree branches can also reduce debris and minimize the risk of damage.
Protect Your Home with DIY Roof Repair
Taking proactive steps to repair and maintain your roof can save you money and extend its life. Minor leaks and damages can be managed with basic DIY techniques, ensuring your home remains safe and dry. Ready to start your DIY roof repair? Gather your tools, and let’s make your roof as good as new!